So yesterday I saw a webpage about making your own lightbox for photography. I didn't have much to do so I thought I'd give it ago.
Luckily I had most of the materials needed around the house.
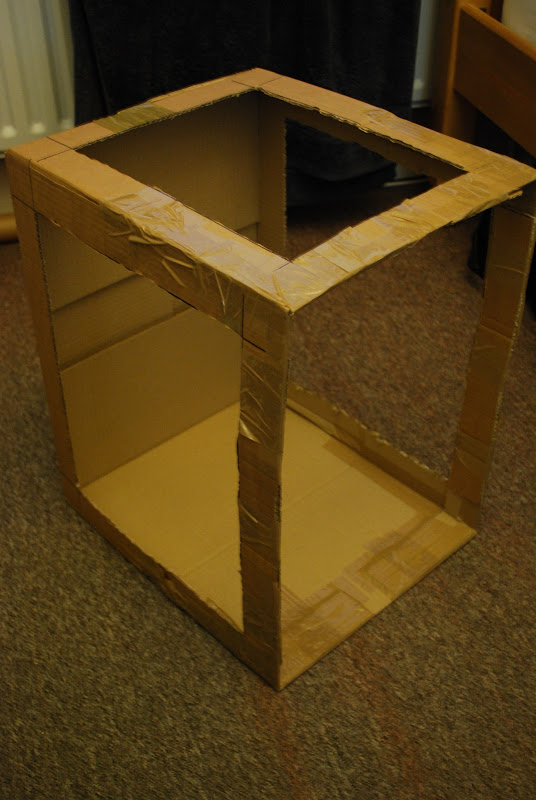
Stage one - cut the box out, a window at the top and both sides. The front totally cut away.
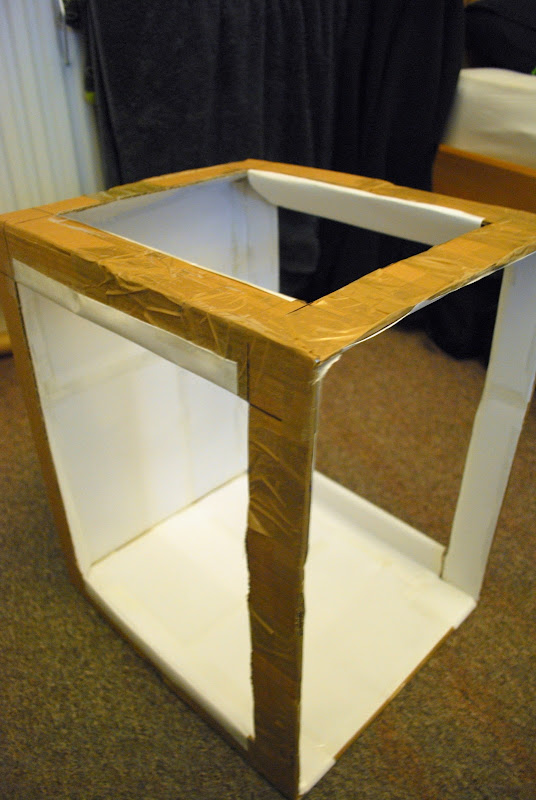
Stage two - cover the inside cardboard edges with white paper. This is to reflect the light around the inside of the box and help illuminate the object.
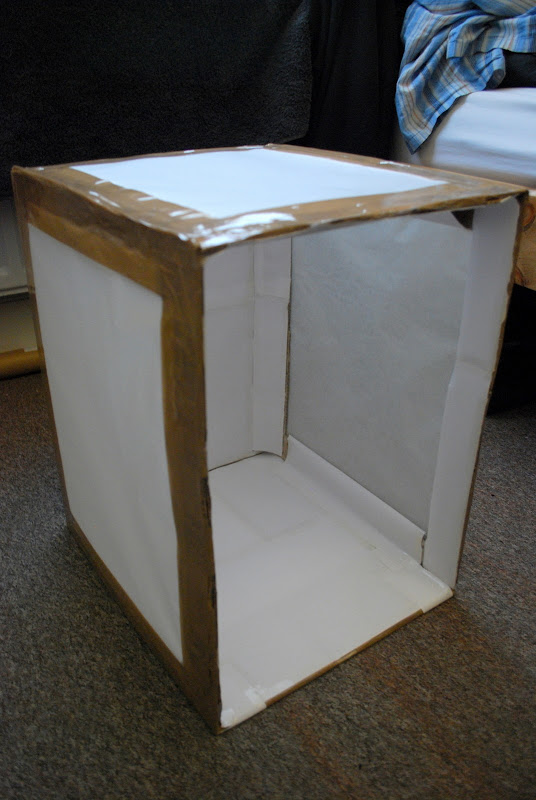
Stage three - cover the windows with greaseproof/tracing paper. This is so the light from your source is softened and nicely diffused onto your object.
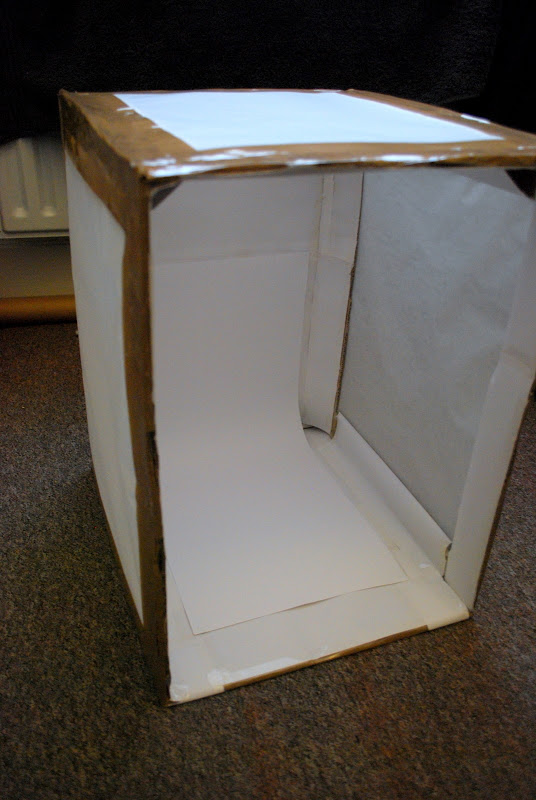
Stage four - put a piece of white card curving from the top of the backside to the front of the bottom. This creates an 'infinity curve' so you get the effect of an uninterrupted expanse of white around your object.
Took about 3 hours to put together. You don't have to stick as much of the white paper on the inside, the amount I did compared to just sticking a bit on probably wouldn't make that much difference. It was what took up the most time.
**Sorry for the terrible pictures of the actual box, I majorly couldn't be bothered to take even semi-decent ones, plus the light in my room is awful.**
- - - - - - - - - - - - - - - - - - - - - - - - - - - - - - - - - - - - - - - -
My first few shots using the box.....
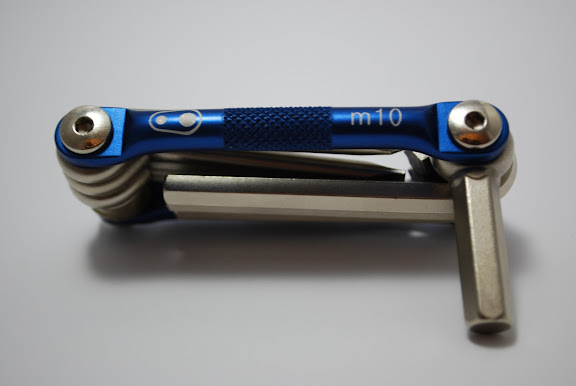
Multi-tool
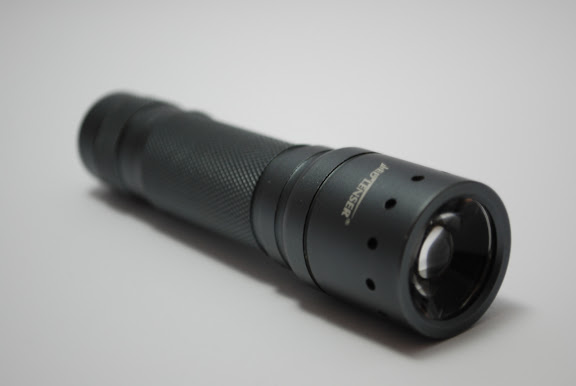
Torch

Headphones (in black and white)
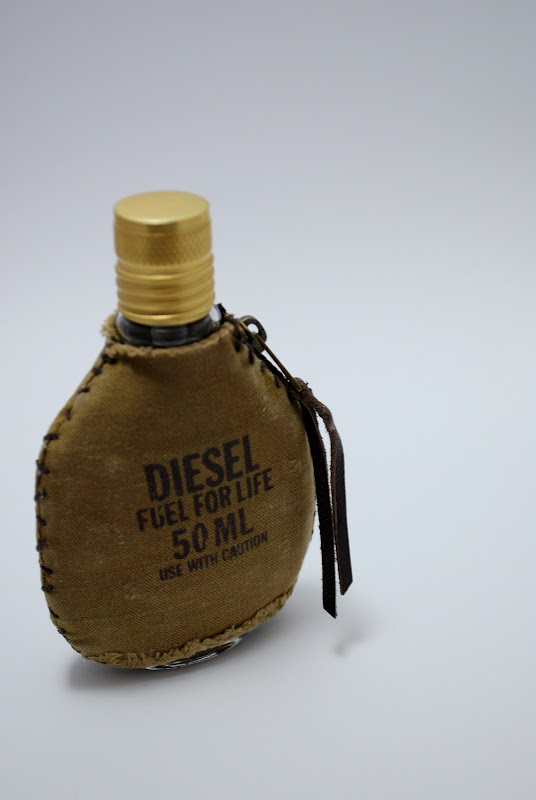
Cologne
- - - - - - - - - - - - - - - - - - - - - - - - - - - - - - - - - - - - - - - -
Few pictures of the setup
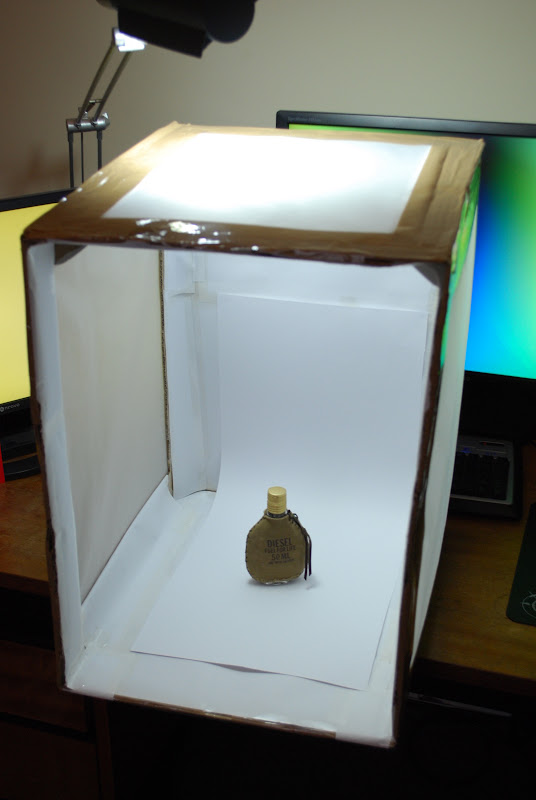
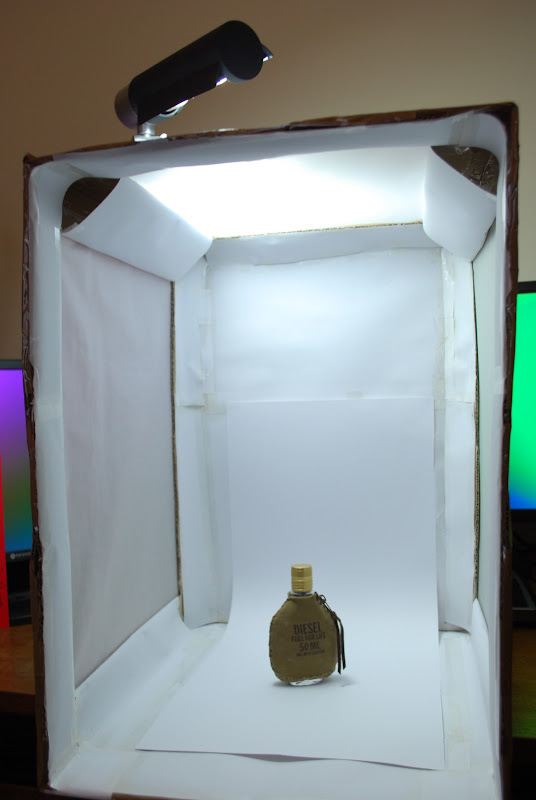
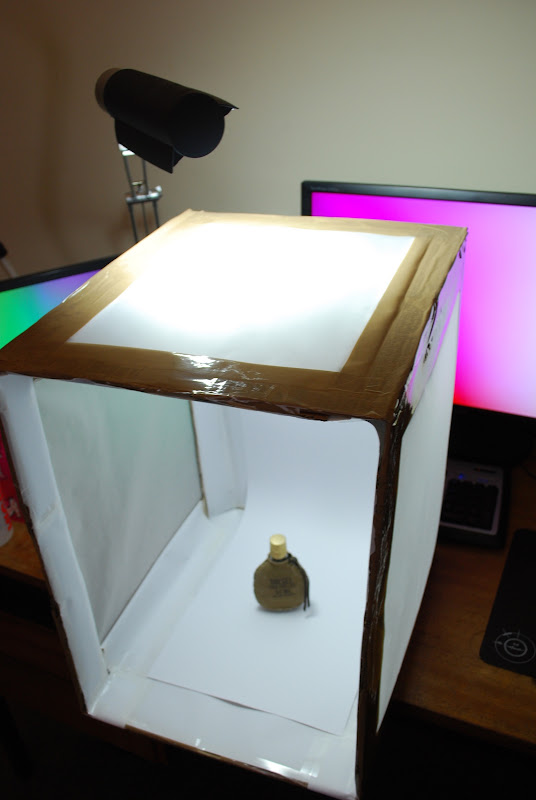
Still got a lot to learn about lighting and shadows but I think this'll definitely be helpful and I can have some fun with it!
Luckily I had most of the materials needed around the house.
Stage one - cut the box out, a window at the top and both sides. The front totally cut away.
Stage two - cover the inside cardboard edges with white paper. This is to reflect the light around the inside of the box and help illuminate the object.
Stage three - cover the windows with greaseproof/tracing paper. This is so the light from your source is softened and nicely diffused onto your object.
Stage four - put a piece of white card curving from the top of the backside to the front of the bottom. This creates an 'infinity curve' so you get the effect of an uninterrupted expanse of white around your object.
Took about 3 hours to put together. You don't have to stick as much of the white paper on the inside, the amount I did compared to just sticking a bit on probably wouldn't make that much difference. It was what took up the most time.
**Sorry for the terrible pictures of the actual box, I majorly couldn't be bothered to take even semi-decent ones, plus the light in my room is awful.**
- - - - - - - - - - - - - - - - - - - - - - - - - - - - - - - - - - - - - - - -
My first few shots using the box.....
Multi-tool
Torch
Headphones (in black and white)
Cologne
- - - - - - - - - - - - - - - - - - - - - - - - - - - - - - - - - - - - - - - -
Few pictures of the setup
Still got a lot to learn about lighting and shadows but I think this'll definitely be helpful and I can have some fun with it!
Last edited by james@alienware (2010-02-14 11:36:09)


